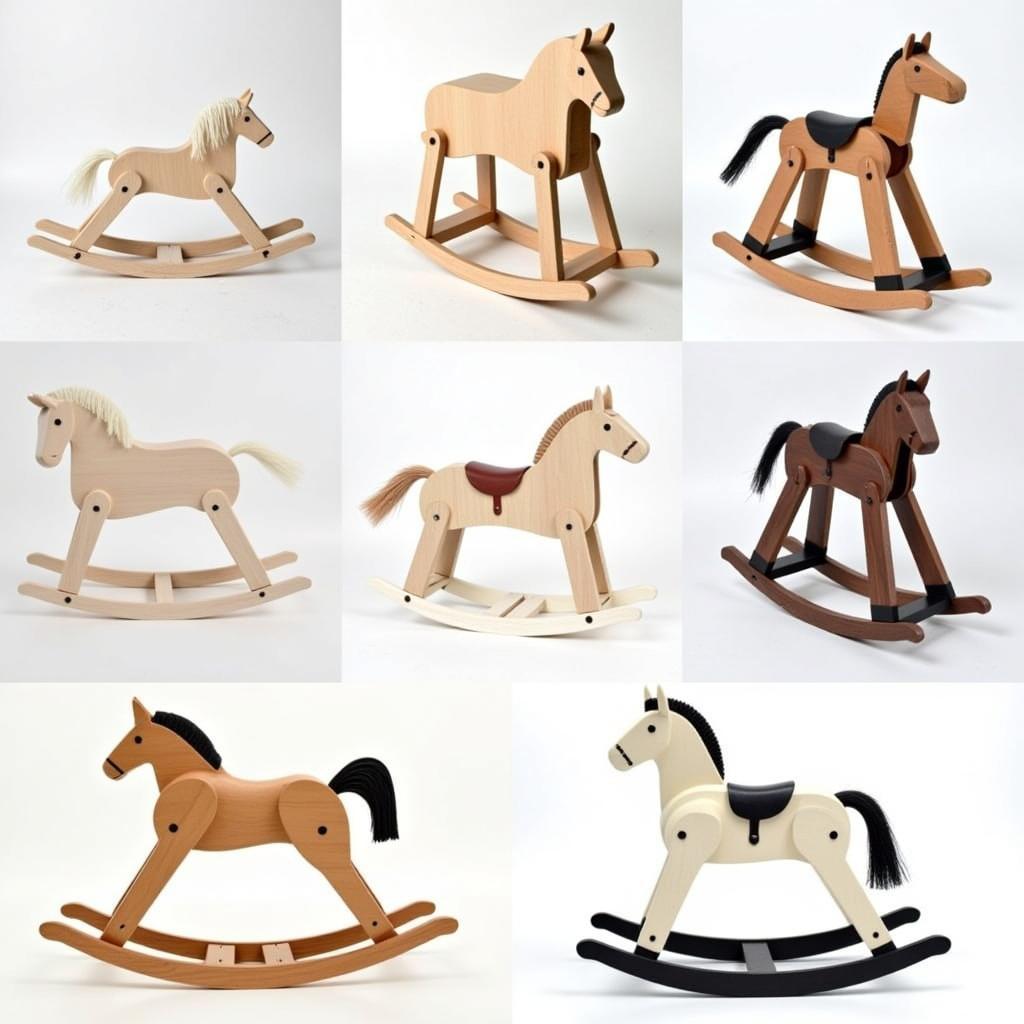
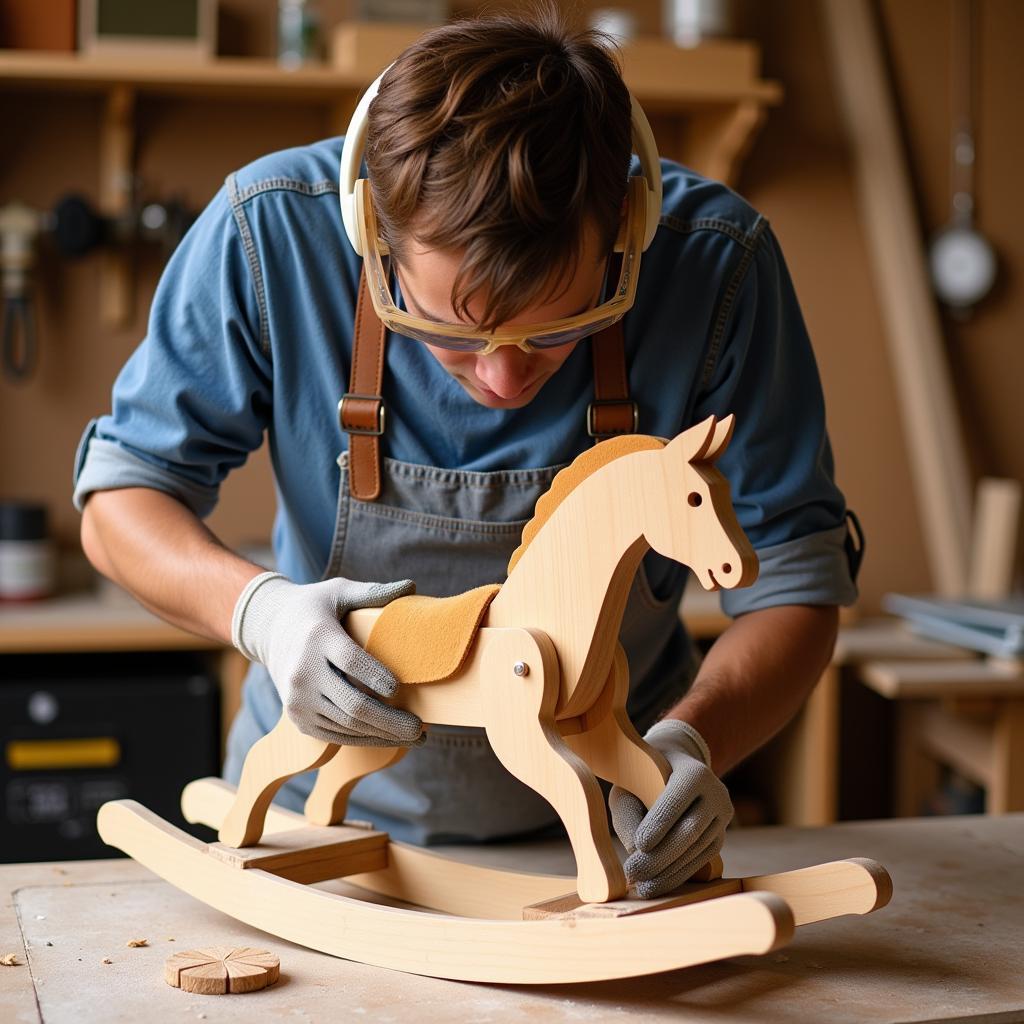
Rocking Horse Plans And Kits offer a fantastic opportunity to create a cherished heirloom. Whether you’re a seasoned woodworker or a beginner, building a rocking horse can be a rewarding experience. This guide will delve into everything you need to know about rocking horse plans and kits, from choosing the right one to the final finishing touches.
Choosing the Perfect Rocking Horse Plans and Kits
Selecting the right rocking horse plans and kits depends on several factors, including your skill level, budget, and desired design. There are kits available for all levels, from simple designs for beginners to intricate, detailed plans for experienced woodworkers.
- Skill Level: Beginner kits often come pre-cut and with pre-drilled holes, making assembly straightforward. Intermediate and advanced plans allow for more customization and intricate detailing.
- Budget: Kits can range in price, depending on the materials, complexity, and size. Consider your budget and choose a kit that fits within your price range.
- Design: From traditional rocking horses to more modern and whimsical designs, there’s a rocking horse plan or kit for every taste. Consider your child’s preferences and the overall aesthetic of your home.
Understanding Different Rocking Horse Plans
Rocking horse plans can vary significantly in complexity and style. Some plans focus on traditional designs, while others incorporate modern elements. Understanding the different types of plans can help you make an informed decision.
- Traditional Plans: These plans often feature classic rocking horse designs, with flowing lines and intricate details. They can be challenging for beginners but offer a rewarding experience for experienced woodworkers.
- Modern Plans: Modern rocking horse plans often incorporate sleek lines and minimalist aesthetics. They can be a good choice for those seeking a contemporary look.
- DIY Plans: These plans offer the most flexibility, allowing you to customize the design to your exact specifications. However, they require more planning and woodworking expertise.
 Modern Rocking Horse Designs
Assembling Your Rocking Horse: A Step-by-Step Guide
Once you’ve chosen your rocking horse plans and kits, it’s time to begin the assembly process. Following the instructions carefully is crucial for a successful outcome.
- Inventory: Check that all the parts are present and accounted for.
- Preparation: Sand any rough edges and prepare the wood for finishing.
- Assembly: Follow the instructions provided with your kit or plan. Take your time and ensure each piece is securely attached.
- Finishing: Apply paint, stain, or varnish to protect the wood and enhance the appearance.
Safety Considerations When Building a Rocking Horse
Safety is paramount when building a rocking horse. Ensure the finished product is stable and free of any sharp edges or potential hazards.
- Stable Base: The rocking base should be sturdy and provide adequate support.
- Smooth Surfaces: Sand all surfaces thoroughly to prevent splinters.
- Non-Toxic Finishes: Use non-toxic paints and finishes to protect children’s health.
 Safe Rocking Horse Construction
Conclusion: Creating a Cherished Heirloom with Rocking Horse Plans and Kits
Building a rocking horse from rocking horse plans and kits is a fulfilling project that results in a cherished heirloom. By following these guidelines and prioritizing safety, you can create a beautiful and lasting gift for your child.
FAQ
- What type of wood is best for a rocking horse?
- Where can I find free rocking horse plans?
- How long does it take to build a rocking horse?
- What tools are needed to build a rocking horse?
- What safety measures should I take when building a rocking horse?
- Can I customize a rocking horse kit?
- What finishes are safe for children’s toys?
Need Help?
For any assistance, please contact us at Phone Number: 0772127271, Email: [email protected] Or visit us at QGM2+WX2, Vị Trung, Vị Thuỷ, Hậu Giang, Việt Nam. We have a 24/7 customer service team.