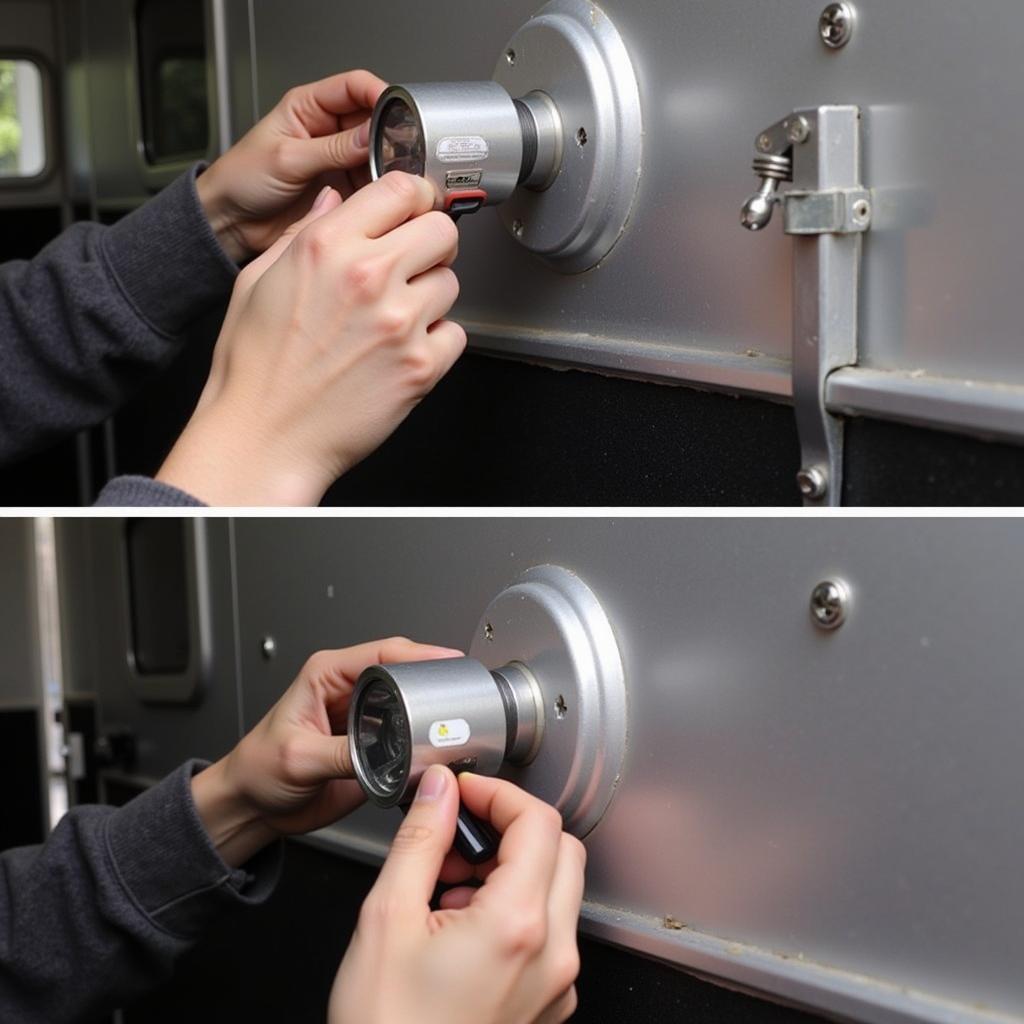
Replacing your horse trailer lights is a crucial safety aspect of horse ownership. Ensuring your trailer is visible to other drivers can prevent accidents and keep your precious cargo safe. This guide will cover everything you need to know about Horse Trailer Lights Replacement, from diagnosing problems to choosing the right lights and installing them correctly.
Why Horse Trailer Lights Matter
Properly functioning lights are essential for safe trailering. They communicate your intentions to other drivers, making your trailer visible in low light conditions and inclement weather. Faulty lights can lead to accidents, traffic violations, and put your horses at risk. Regularly inspecting and replacing your horse trailer lights is a small investment that pays off big in terms of safety and peace of mind. Remember to check your horse trailer wiring diagram if you’re experiencing electrical issues.
Common Signs Your Lights Need Replacing
- Dim or flickering lights
- Burned-out bulbs
- Cracked or broken lenses
- Corroded connectors
- Wiring issues
“Don’t wait until your lights completely fail to replace them,” advises equine veterinarian Dr. Emily Carter. “Regular inspections and timely replacements are key to preventing dangerous situations on the road.”
Choosing the Right Replacement Lights
Selecting the right replacement lights involves considering factors like trailer type, state regulations, and personal preferences. LED lights are becoming increasingly popular due to their energy efficiency, long lifespan, and brightness. However, traditional incandescent bulbs are still a viable option for those seeking a more budget-friendly solution. You can often find suitable replacement lights at a horse trailer junkyard if you’re looking for a cost-effective option.
 Installing LED Lights on Horse Trailer
Types of Horse Trailer Lights
- Tail lights: Indicate braking and turning.
- Brake lights: Signal when you are slowing down.
- Turn signals: Indicate your intention to change lanes.
- Running lights: Make your trailer visible at night.
- Clearance lights: Mark the width and height of your trailer.
“When choosing replacement lights, ensure they meet Department of Transportation (DOT) regulations for visibility and safety,” recommends experienced horse transporter, John Miller.
Horse Trailer Lights Replacement: A Step-by-Step Guide
- Gather your tools and materials: You’ll need screwdrivers, wire strippers, electrical tape, connectors, and your chosen replacement lights. Having the correct horse trailer parts on hand will make the job much smoother.
- Disconnect the battery: This is a crucial safety step to prevent electrical shocks.
- Remove the old lights: Carefully unscrew or unclip the old lights, noting the wiring configuration.
- Connect the new lights: Match the wires from the new lights to the existing wiring harness, securing them with connectors and electrical tape.
- Test the lights: Reconnect the battery and test all the lights to ensure they are functioning correctly.
- Reinstall the new lights: Secure the new lights in place, ensuring they are flush with the trailer body.
Conclusion
Horse trailer lights replacement is a simple yet vital task for maintaining the safety of your horses and fellow road users. By following this guide and choosing quality Integrity horse trailers parts, you can ensure your trailer is well-lit and visible on the road. Regular inspection and timely horse trailer lights replacement are essential for safe and worry-free travels.
FAQ
- How often should I replace my horse trailer lights? It’s recommended to inspect your lights regularly and replace any burned-out bulbs or damaged components immediately.
- Can I replace my incandescent lights with LED lights? Yes, LED lights are a great upgrade for horse trailers due to their energy efficiency and longer lifespan.
- Where can I find replacement lights for my horse trailer? You can find replacement lights at automotive stores, RV supply stores, and online retailers specializing in Logan horse trailer parts.
- Do I need professional help to replace my horse trailer lights? While it’s a relatively simple DIY project, if you’re not comfortable working with electrical systems, it’s always best to consult a professional.
- What are the legal requirements for horse trailer lights? Refer to your state’s Department of Transportation regulations for specific requirements.
- How can I prevent corrosion on my trailer light connectors? Regularly cleaning the connectors and applying dielectric grease can help prevent corrosion.
- What should I do if my new lights aren’t working? Double-check the wiring connections and ensure the bulbs are properly installed.
Common Scenarios:
- Scenario 1: One tail light isn’t working. This often indicates a burned-out bulb or a corroded connector.
- Scenario 2: All the lights on one side aren’t working. This might point to a wiring issue or a blown fuse.
- Scenario 3: Lights are flickering or dim. This could be due to a loose connection, a failing ground wire, or a dying battery.
Further Reading and Resources
Check out our other articles on horse trailer maintenance and safety. You might also find our article on horse trailer wiring diagrams helpful.
When you need assistance, contact us at Phone Number: 0772127271, Email: [email protected] Or visit us at: QGM2+WX2, Vị Trung, Vị Thuỷ, Hậu Giang, Việt Nam. We have a 24/7 customer service team.