Jumping is an integral part of many equestrian disciplines, offering both horse and rider a fantastic workout while strengthening their bond. But access to professional-grade jumps can be limited and expensive. That’s where DIY horse jumps come in! Building your own jumps is a cost-effective and rewarding way to customize your training and create a unique course tailored to your horse’s needs and your equestrian goals.
 DIY Horse Jump Construction
Planning Your DIY Horse Jumps
Before grabbing your tools, careful planning is essential for successful DIY horse jump construction.
Safety First
- Sturdy Construction: Horse jumps need to be strong enough to withstand impact. Use quality materials and ensure all connections are secure.
- No Sharp Edges: Thoroughly sand and round off all edges and corners to prevent injuries to your horse.
- Visibility: Jumps should be easy for your horse to see. Use bright, contrasting colors and avoid complex designs that might confuse them.
Design and Difficulty
- Start Simple: Begin with basic jump designs and gradually increase complexity as your horse progresses.
- Consider Your Horse: Factor in your horse’s age, experience, and jumping ability. Young or green horses benefit from simpler jumps.
- Variety is Key: Build a variety of jump types (cross rails, verticals, oxers) to keep training interesting and challenging.
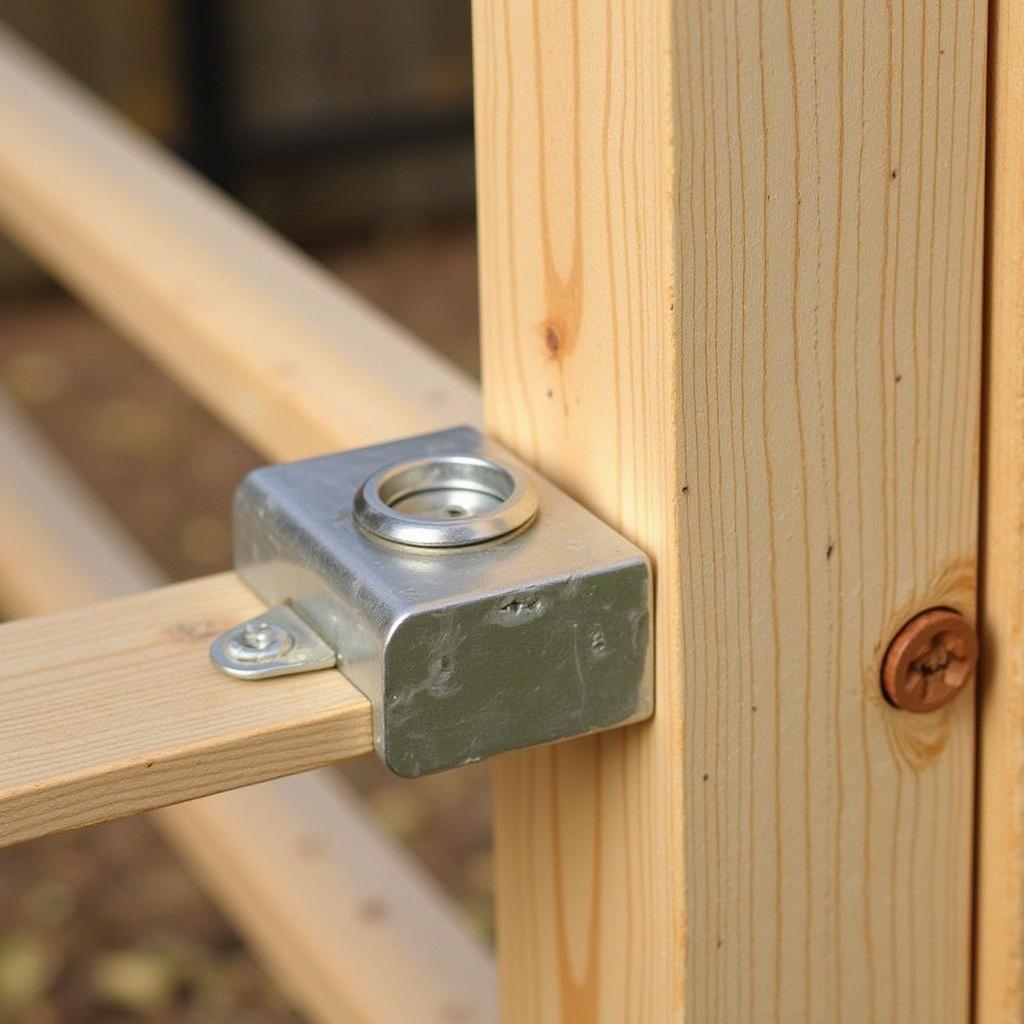
Building Your DIY Horse Jumps: Materials and Methods
Essential Materials:
- Poles: Wooden poles (like those used for fence posts) are the most common choice. PVC pipes offer a lighter alternative, especially for beginner jumps.
- Jump Standards: These are the vertical supports that hold the poles. You can use wooden planks, PVC pipes, or even repurposed items like barrels or tires.
- Hardware: Gather screws, nails, brackets, and other necessary hardware to securely join your jump components.
- Paint (Optional): Brightly colored paint enhances jump visibility and adds a touch of personality to your course.
Simple Jump Designs to Get You Started:
- Cross Rails: Two poles placed at different heights on the standards, forming an “X” shape. Excellent for beginners.
- Vertical: A single pole placed horizontally between two standards. Encourages the horse to jump straight and clear the obstacle.
- Oxer: Two sets of standards placed a short distance apart, with poles set at varying heights to create a wider obstacle.
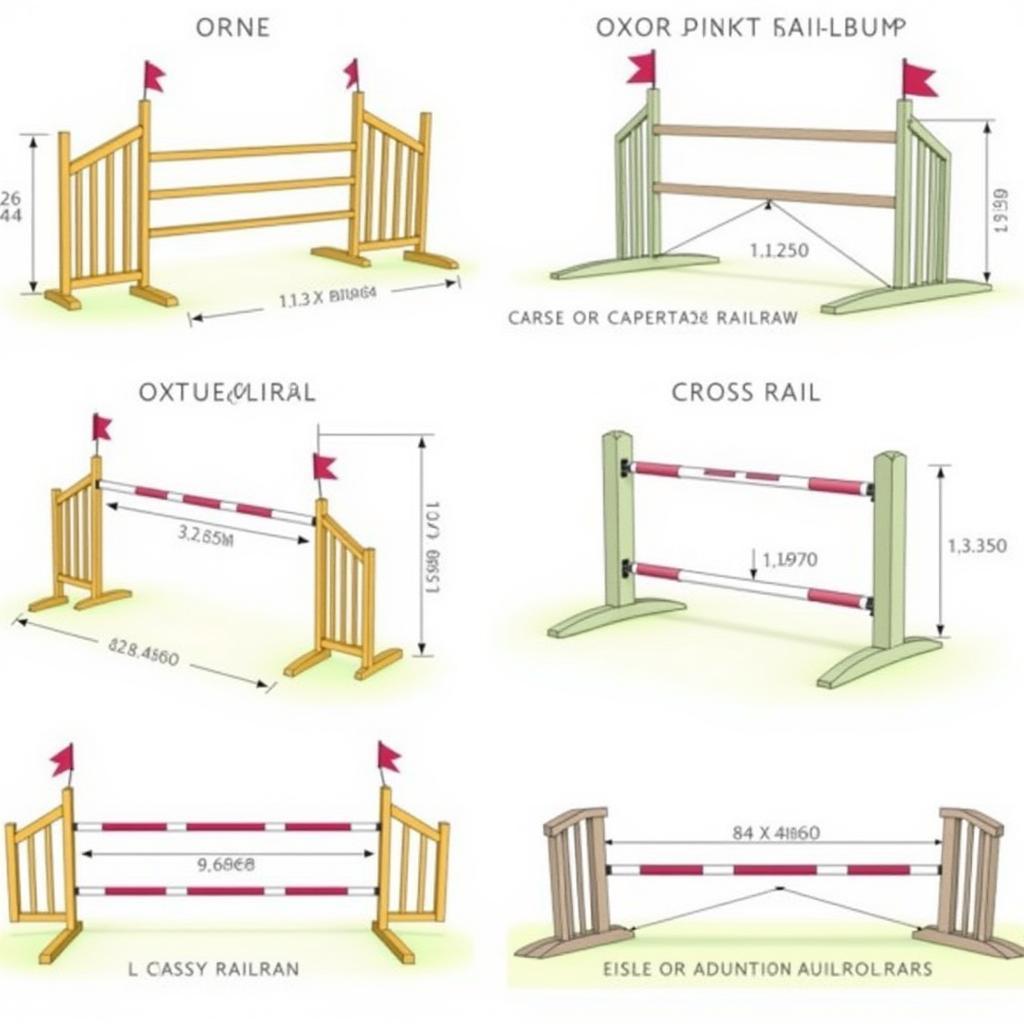 Different DIY Horse Jump Designs
Tips for Success
- Start Low and Go Slow: When introducing new jumps, begin with low heights and gradually increase the difficulty as your horse gains confidence.
- Positive Reinforcement: Encourage and reward your horse throughout the training process to build positive associations with jumping.
- Regular Maintenance: Inspect your DIY jumps regularly for wear and tear. Tighten loose screws, replace damaged components, and repaint as needed to ensure safety.
Building DIY horse jumps allows you to create a customized training experience for you and your equine partner. Remember to prioritize safety, start with simple designs, and always consider your horse’s abilities. With a bit of planning and effort, you can construct your own challenging and rewarding equestrian course right at home.
FAQs
1. What type of wood is best for horse jumps?
Pressure-treated lumber is a popular choice due to its durability and resistance to rot. Cedar and redwood are also good options, known for their strength and natural insect-repelling properties.
2. How high should my DIY horse jumps be?
Start with low heights, around 1-2 feet for beginners, and gradually increase as your horse progresses. The ideal jump height will vary depending on your horse’s breed, training level, and the type of riding discipline you practice.
3. Can I use recycled materials for my DIY horse jumps?
Absolutely! Get creative and repurpose old tires, barrels, pallets, and other materials to add unique elements to your course. Just ensure they are sturdy, safe, and free from sharp edges or protruding nails.
4. How do I make my DIY horse jumps more visible?
Paint is your friend! Use bright, contrasting colors that stand out against your arena’s backdrop. Consider adding stripes, patterns, or even reflective tape to further enhance visibility, especially in low-light conditions.
5. Where can I find more DIY horse jump plans?
Numerous online resources and equestrian communities offer a wealth of inspiration and detailed plans for various jump types. Websites, forums, and social media groups dedicated to horses and DIY projects are great places to explore.
Need Help?
For personalized advice on DIY horse jumps or to explore our range of equestrian equipment, contact us at Phone Number: 0772127271, Email: [email protected] Or visit our address: QGM2+WX2, Vị Trung, Vị Thuỷ, Hậu Giang, Việt Nam. Our dedicated team is available 24/7 to assist you.