Building your own horse jumps is a rewarding endeavor that allows you to customize your training course and challenge your equine partner. Whether you’re a seasoned equestrian or just starting, this comprehensive guide will equip you with the knowledge and confidence to construct safe and effective horse jumps. From choosing the right materials to assembling different types of jumps, we’ll cover everything you need to know. Let’s get started!
Planning Your Horse Jumps
Before you grab your tools, careful planning is essential for successful horse jump construction.
Define Your Needs and Goals
- Riding Discipline: Consider your chosen riding discipline, as different disciplines require specific jump types and heights. For instance, show jumping emphasizes technicality, while cross-country focuses on natural obstacles.
- Horse’s Experience Level: Tailor the jump design and difficulty to your horse’s training level. Start with simple jumps and gradually introduce more challenging obstacles as their skills progress.
- Available Space: Measure your riding arena or designated jumping area to determine the number and size of jumps that can be accommodated comfortably.
Selecting Materials
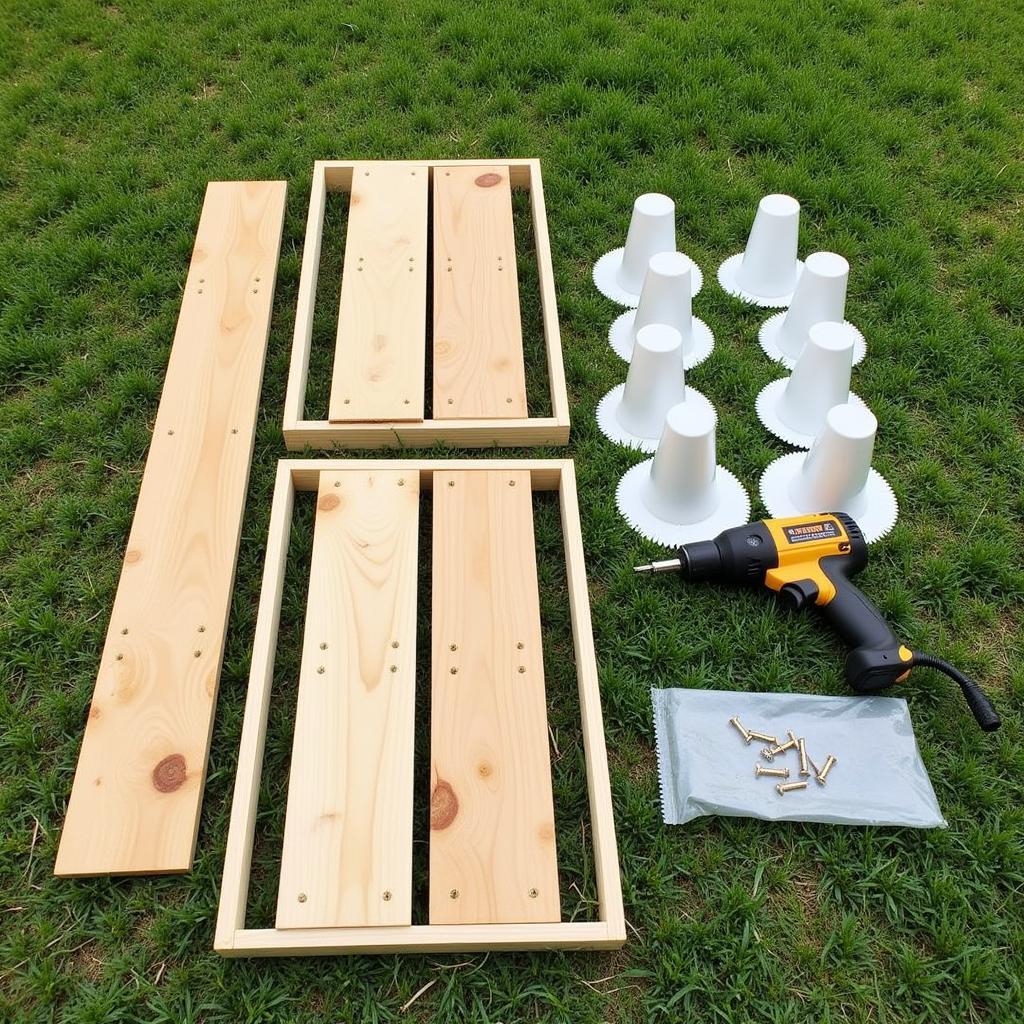
Using durable, horse-safe materials is crucial for your jump construction. Opt for sturdy wood like pine or spruce for the frame and supports. Avoid treated lumber, as the chemicals used in the treatment process can be harmful to horses.
- Poles: Wooden poles are the most common choice. Ensure they’re smooth, free of splinters, and painted with bright, non-toxic paint for visibility.
- Jump Cups: Choose cups made from durable plastic or rubber. These securely hold the poles while allowing them to fall easily if knocked, preventing injuries to the horse and rider.
- Fillers: Utilize lightweight and safe materials for fillers, such as hay bales, plastic barrels, or traffic cones.
 Horse Jump Building Materials
Building Basic Horse Jumps
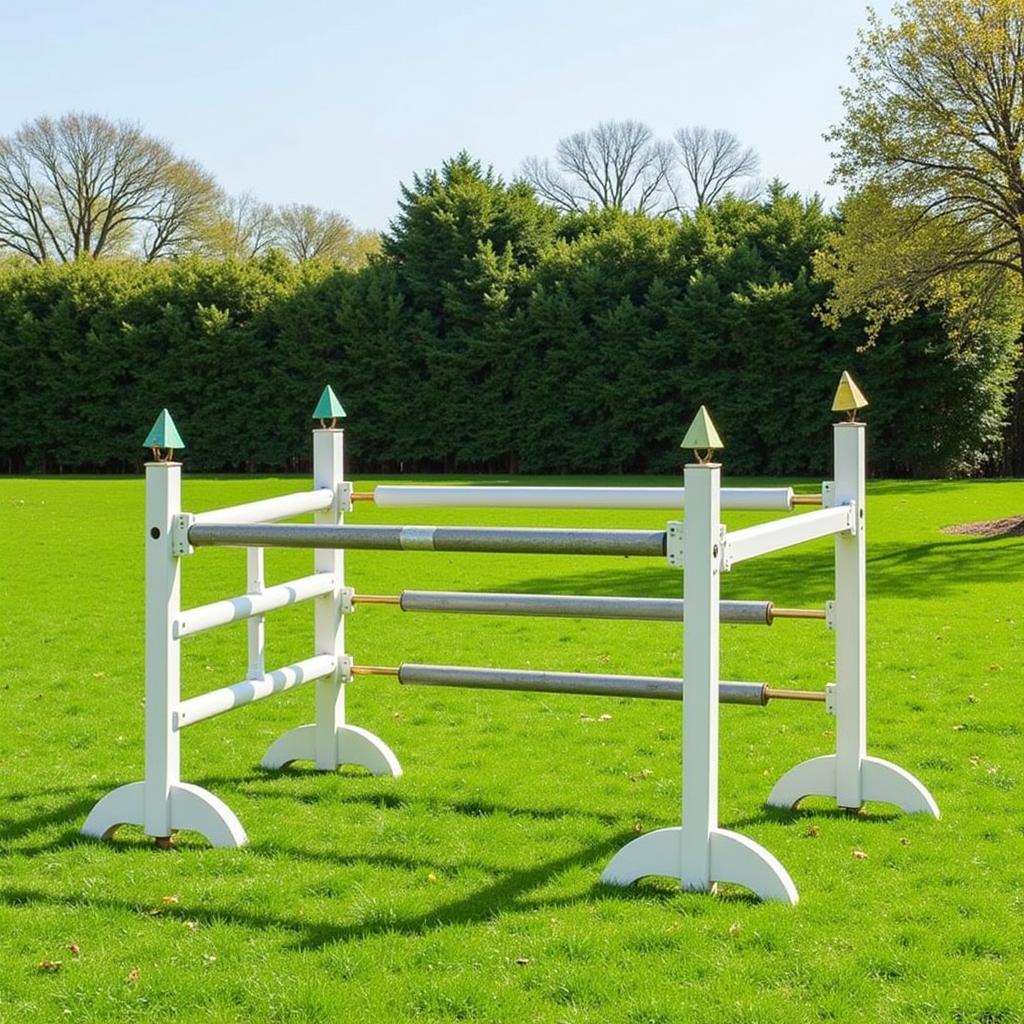
Once you have a plan and materials ready, you can start building your jumps. Here’s a step-by-step guide for constructing a simple cross rail jump:
- Cut the Lumber: Cut four pieces of wood for the jump standards (vertical supports) to your desired height. For a beginner cross rail, a height of 2-3 feet is suitable.
- Assemble the Standards: Create two “X” shapes by attaching two standards together at their midpoint using screws or bolts. Ensure the “X” shapes are stable and can support the weight of the poles.
- Attach Jump Cups: Position jump cups on the inside of each standard leg at varying heights to create different jump levels. Use screws to securely fasten the cups.
- Add Poles: Place the poles in the jump cups, ensuring they are evenly balanced and secure.
 Basic Horse Jump
Expanding Your Jump Repertoire
Once you’ve mastered the basics, you can expand your jump repertoire with more challenging and visually appealing obstacles.
Oxers
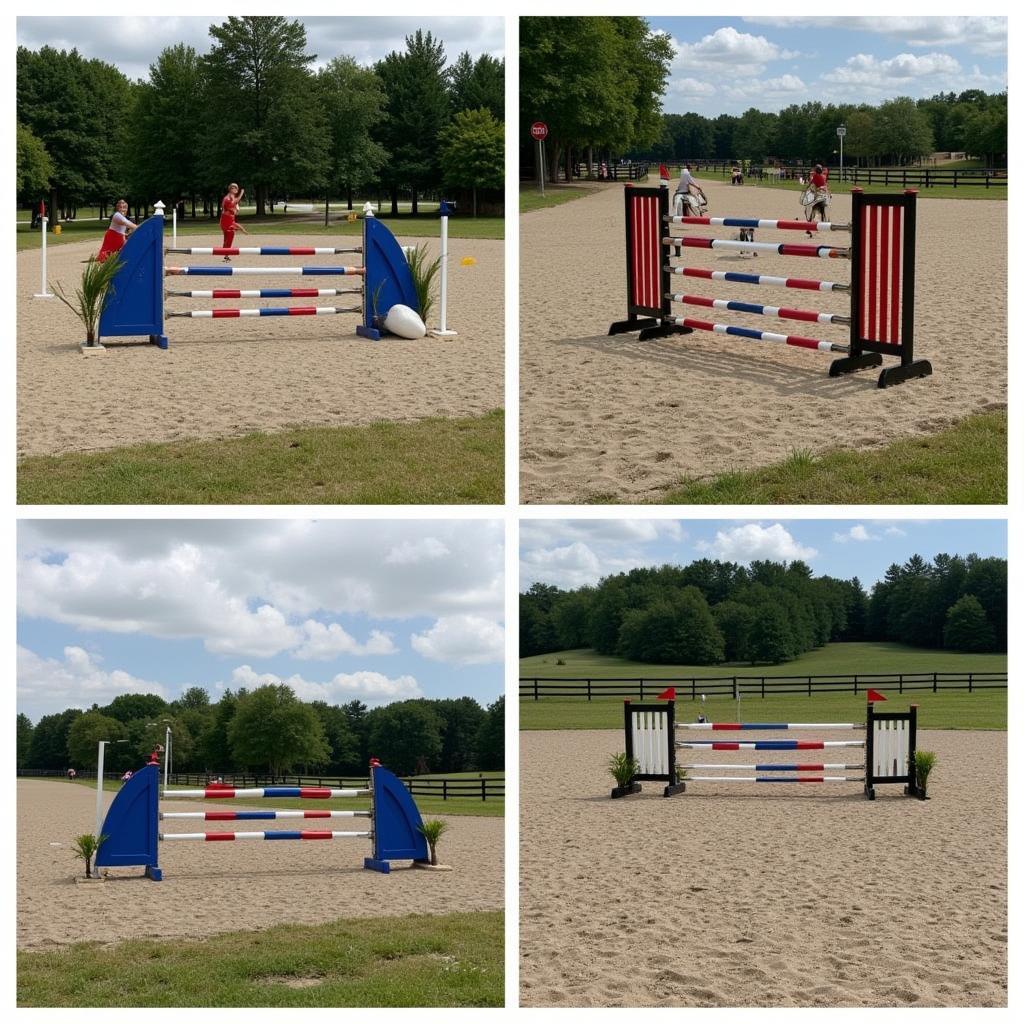
Oxers are wider jumps consisting of two sets of standards with poles at varying heights. They encourage the horse to jump higher and wider.
Vertical Jumps
Vertical jumps consist of a single set of standards with poles set at the same height. They promote a more upright jumping style.
Water Jumps
Water jumps are shallow, rectangular pools of water that horses must jump over. They add excitement and complexity to your course.
 Types of Horse Jumps
Safety Considerations
Safety should be your top priority when building and using horse jumps.
- Regular Inspections: Regularly inspect your jumps for any signs of wear and tear. Replace damaged or weakened components immediately.
- Secure Footing: Ensure the ground around your jumps is level and free of debris to provide secure footing for your horse.
- Gradual Progression: Gradually introduce new jumps and increase their height or complexity over time. Allow your horse to become comfortable at each stage before moving on.
Conclusion
Building horse jumps is a rewarding way to enhance your training experience and challenge your equestrian skills. By following these guidelines and prioritizing safety, you can create a fun and engaging jumping course for you and your equine partner. Remember to start with basic jumps and gradually increase the difficulty as your horse progresses. Happy jumping!
FAQs About Building Horse Jumps
1. What type of wood is best for horse jumps?
Durable softwoods like pine or spruce are ideal. Avoid treated lumber, as the chemicals can be harmful to horses.
2. How high should my horse jumps be?
Start with low heights, around 2-3 feet for beginners, and gradually increase as your horse gains experience.
3. Can I use recycled materials for horse jumps?
While tempting, using recycled materials can pose safety risks. Opt for new, horse-safe materials to ensure durability and minimize hazards.
4. How often should I inspect my horse jumps?
Inspect your jumps before each riding session and conduct a thorough inspection weekly or bi-weekly, depending on usage.
5. Where can I find more resources on building horse jumps?
For additional guidance and inspiration, check out our other helpful articles:
Need Help with Your Equestrian Needs?
At Justus Horses USA, we are committed to providing you with the highest quality equestrian products and resources. If you have any questions or need assistance, please don’t hesitate to contact our dedicated team.
Phone: 0772127271
Email: [email protected]
Address: QGM2+WX2, Vị Trung, Vị Thuỷ, Hậu Giang, Việt Nam
Our customer care representatives are available 24/7 to assist you.